Apr 29, 2015 | Flotsam
I think this is our #4 of winter/spring mods for R.E.D.
…I’m kind of losing track.
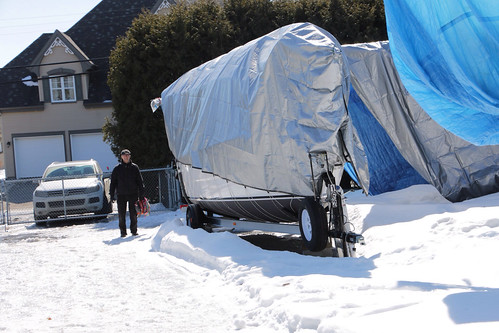
A trip during early spring to make sure our lady was secure,
any extra snow was knocked off the tarp
and with surprisingly little effort we extracted the galley.
There it is!…
…how many other boat-crazy people would remove their galley
and display it on their coffee table?
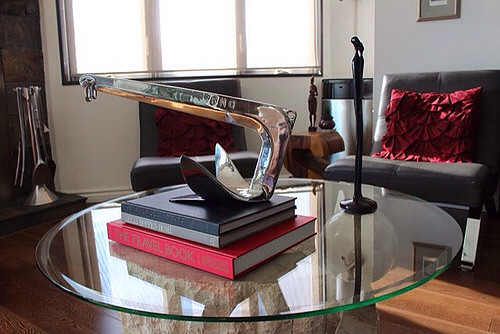
…I suppose same crazy people
who see their anchor
as a piece of art.
Anyway,
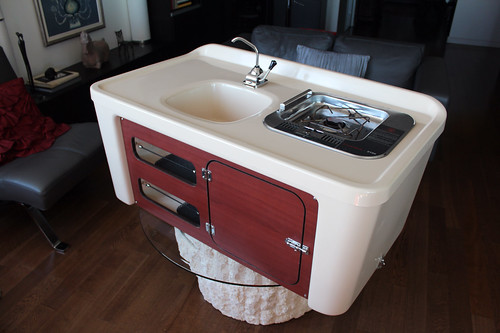
here it is again…
the ‘before’…
very dark interior,
limited access to storage
and my one-burner alcohol stove.
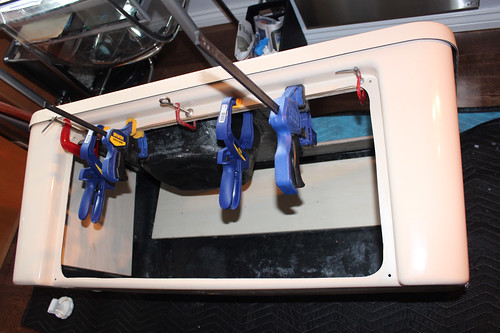
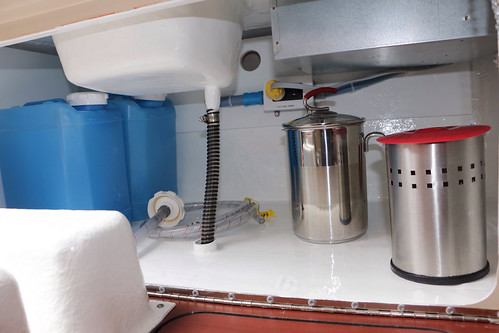
First step was to reinforce the opening
with 3/4″ x 2″ marine plywood
and 1/2″ on the back and sides to ease installation
of future pressurized water system etc.
The front panel was removed
and a stainless steel piano hinge installed at the base.
…to make a drop-down storage access.
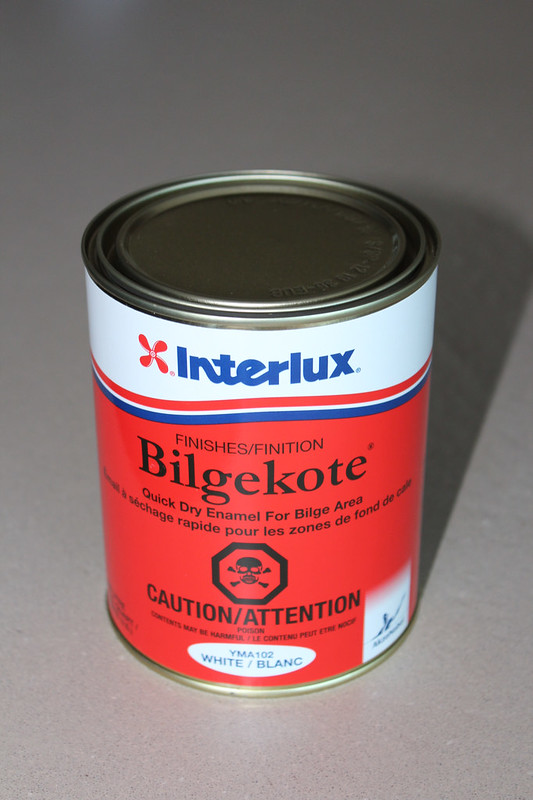
…and the interior refreshed with
two applications of Captain’s favourite paint…
…Bilgekote.
…stainless steel hardware was added to both sides…
to make a secure heel-worthy closure.
and lengths of chain to support each side when opened…
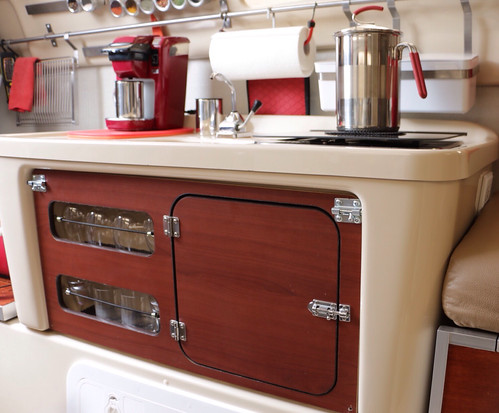
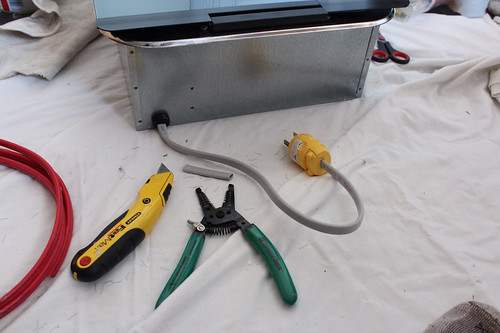
…the new Dometic electric/alcohol combo stove
was wired,
an extra electrical outlet installed.
all GFI protected.
(you can have a look at what was done
here)
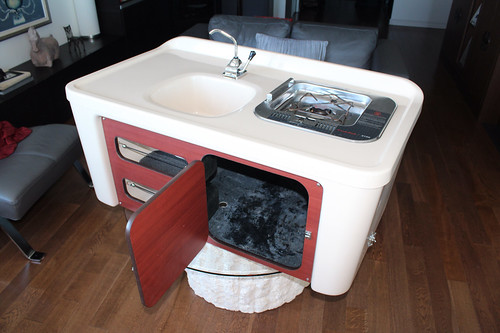
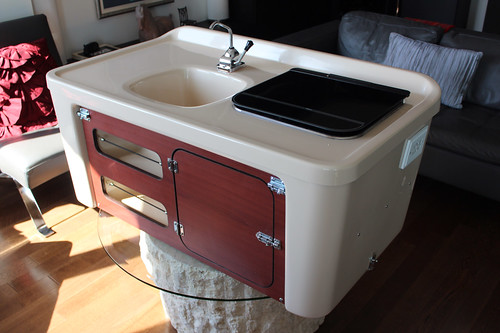
…The ‘after’
…back to the living room for a final photo shoot,
all polished and ready to return to the boat.
Still the same basic design,
but with modifications
that will relieve some of the little frustrations
that come with living in tight spaces.
Brighter and easier to clean…
…and will be much easier to access
and hook up our water supply.
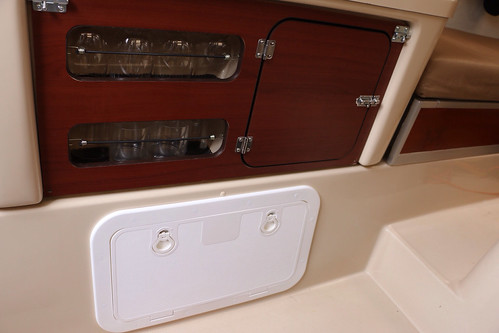
That almost lost space under the galley?
(hatch installation
here)
…now easily accessible and ready for summer provisions.
~
In the grand scale of things,
these weren’t big modifications,
nor were they expensive ones.
For now we choose to change what bugs us the most,
access and storage.
Someday we would like to be able to wash both hands at once,
but we can live with the ‘pump and squirt’ faucet one more season.
Just a lick of paint,
Captain’s innovations,
inspirations from our social media boating community,
…a collaborative effort…
and voilà,
all pretty once again.
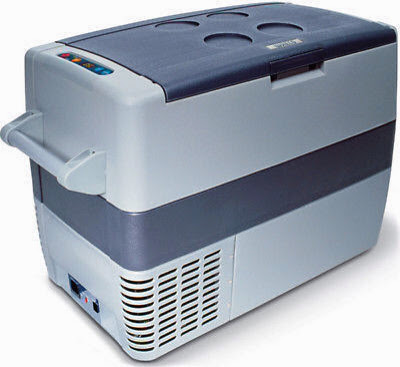
Refrigeration back onboard…
(link to construction for housing of our cooler
here)
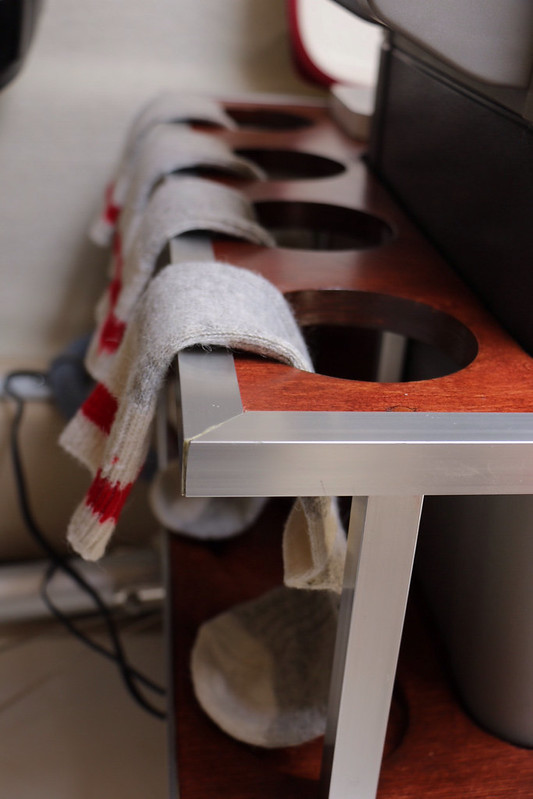
…and all the little monkey socks ready to protect François’ boat buddies:
Jack, Johnny, José and Captain Morgan.
I am one Happy (can’t-wait-to-be-back-on-the-water) Galley Kat!

Apr 12, 2015 | Flotsam
Captain says there is the Pirate Code,
then there is the Electrical Code…
Time to make R.E.D. comply with the Electrical Code…
Three years ago when R.E.D. was first launched and taking on water…
…remember that?
…I remember the tears…
Anyway, we engaged the service of a Marine Engineer to inspect from top to bottom.
He couldn’t find the cause of the leak (although we discovered it later on)
but what he did find was that our shore power connection did not meet code standards.
No circuit breaker or reverse polarity indicator.
…just a simple 15 amp breaker.
Sadly, there wasn’t one thing installed by the dealer
that was done correctly,
including the through hull with no caulking
that caused us to take on water our first night aboard,
and the furler installed up-side down.
The list is very long and the memories are still fresh
but we have moved on…
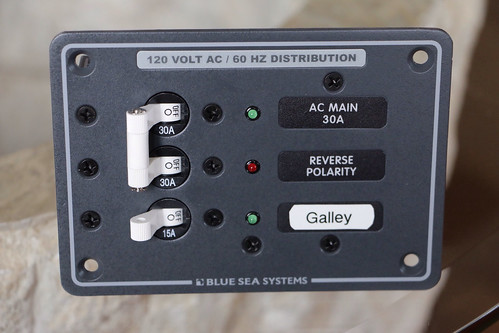
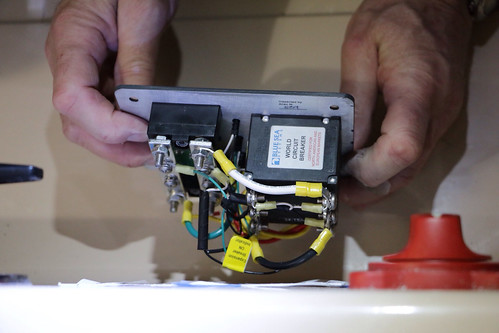
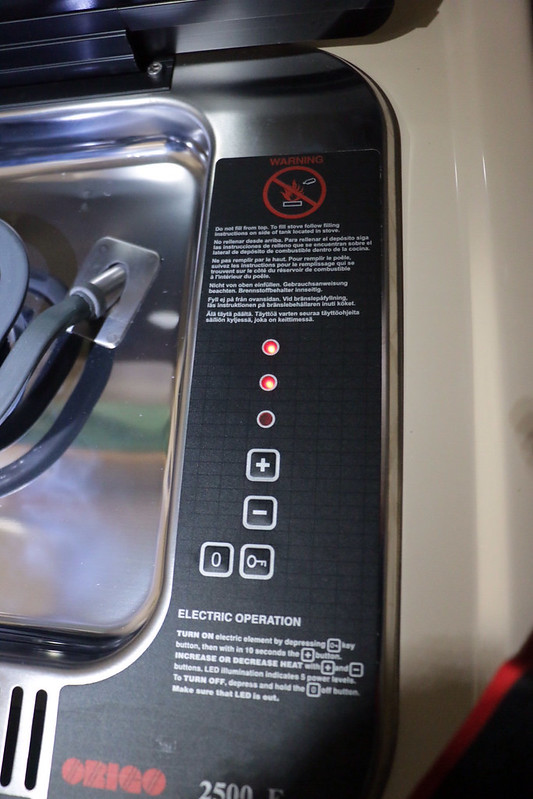
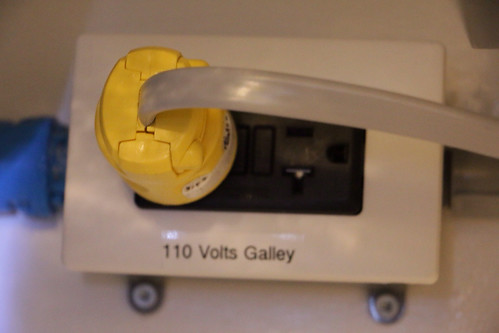
So to bring the shore power connection to code
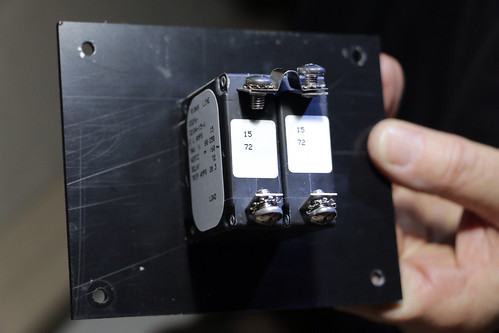
we are installing a 120 volt distribution panel
with an extra connection for the Galley.
I was hands-on wiring my new combination alcohol/electric stove,
in Rhode Island.
We decided to install a 20 amp connector
instead of hard-wiring the new stove
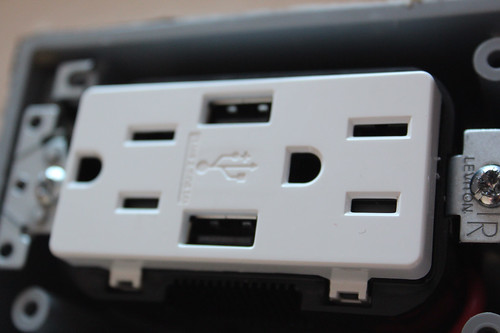
We also installed an extra outlet on the outside of the galley
for USB charging
and other stuff…
…because there’s always other stuff…
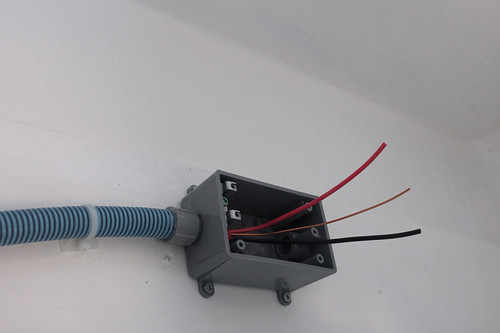
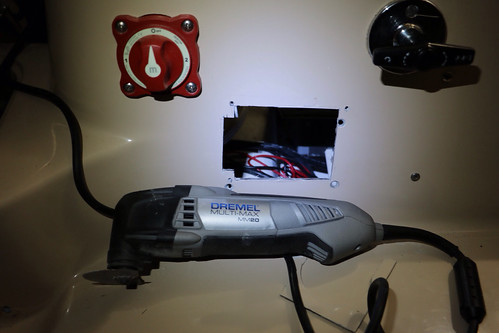
Back onboard to put it all together,
the Dremel cut through the fibreglass like going through butter.
…for a perfect fit.
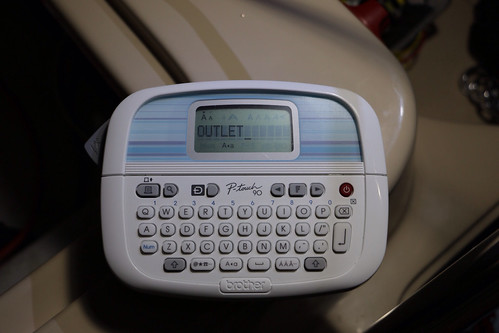
is the importance of making sure everything is not only safely installed…
…but correctly and clearly labelled.
…all the connections,
…all the dials and gauges.
Now to test to make sure everything works.
It’s comforting to know that after all of this work,
when you flip the switch
all the lights that are supposed to come on,
do come on.
Next challenge will be to tackle the 12 volt ‘issues’.
Five connections on one battery terminal is not a good thing Mr. Dealer!
Apr 19, 2014 | Flotsam
Last year I found that a port-side galley and a starboard-side refrigerator
was an awkward configuration.
So Francois has worked out a set-up that will make galley life onboard R.E.D.
a lot more convenient.
To do so we will have to make the P1 hold less accessible
but since it is the smallest storage area,
the plan is to store items infrequently needed there.
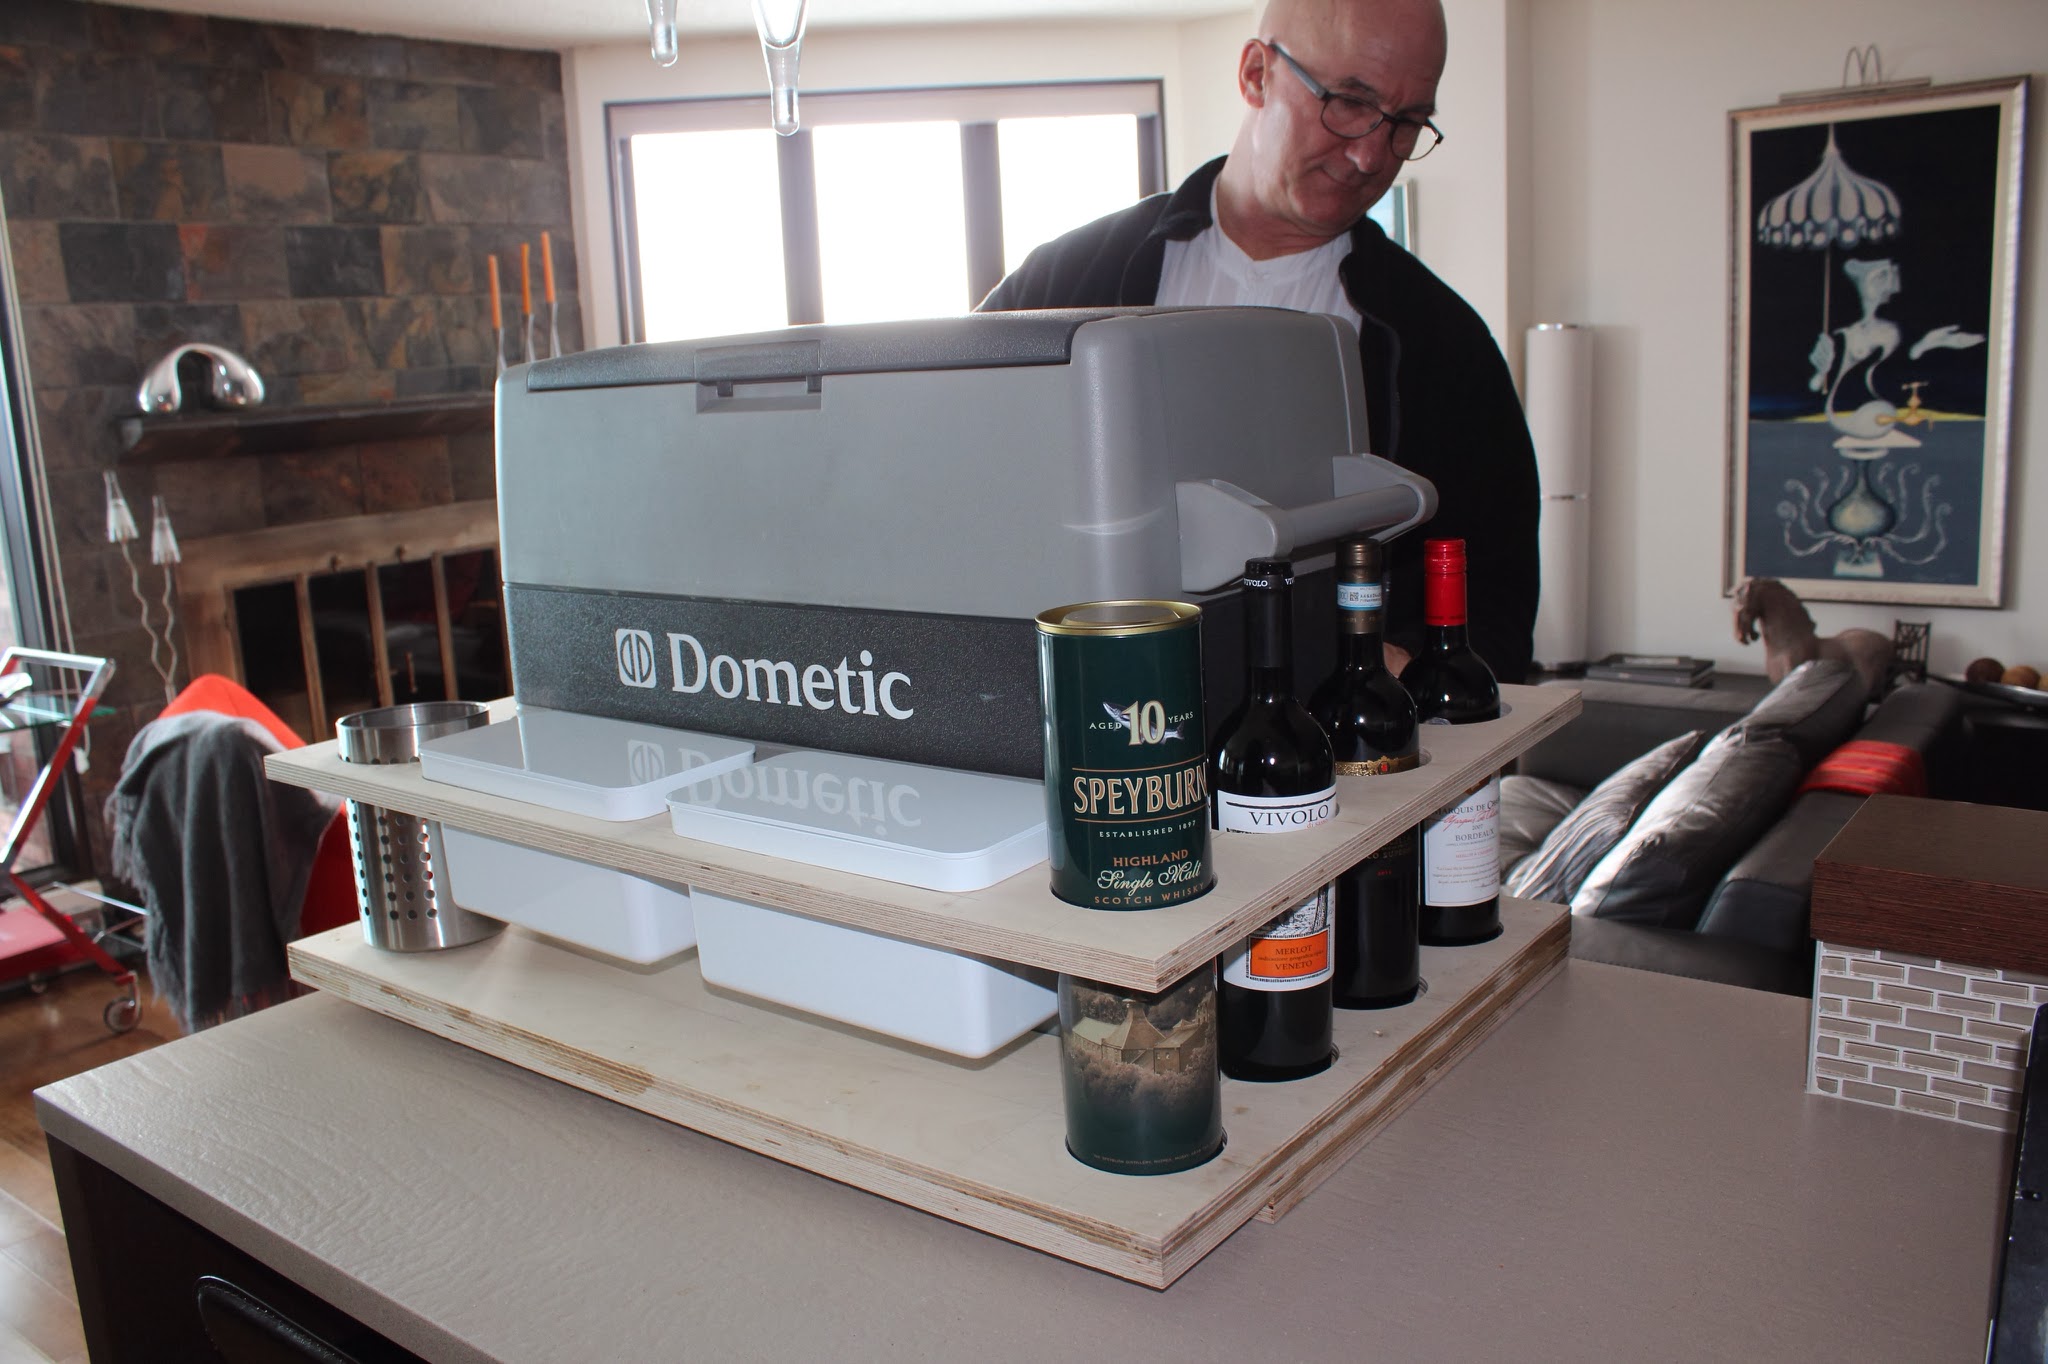
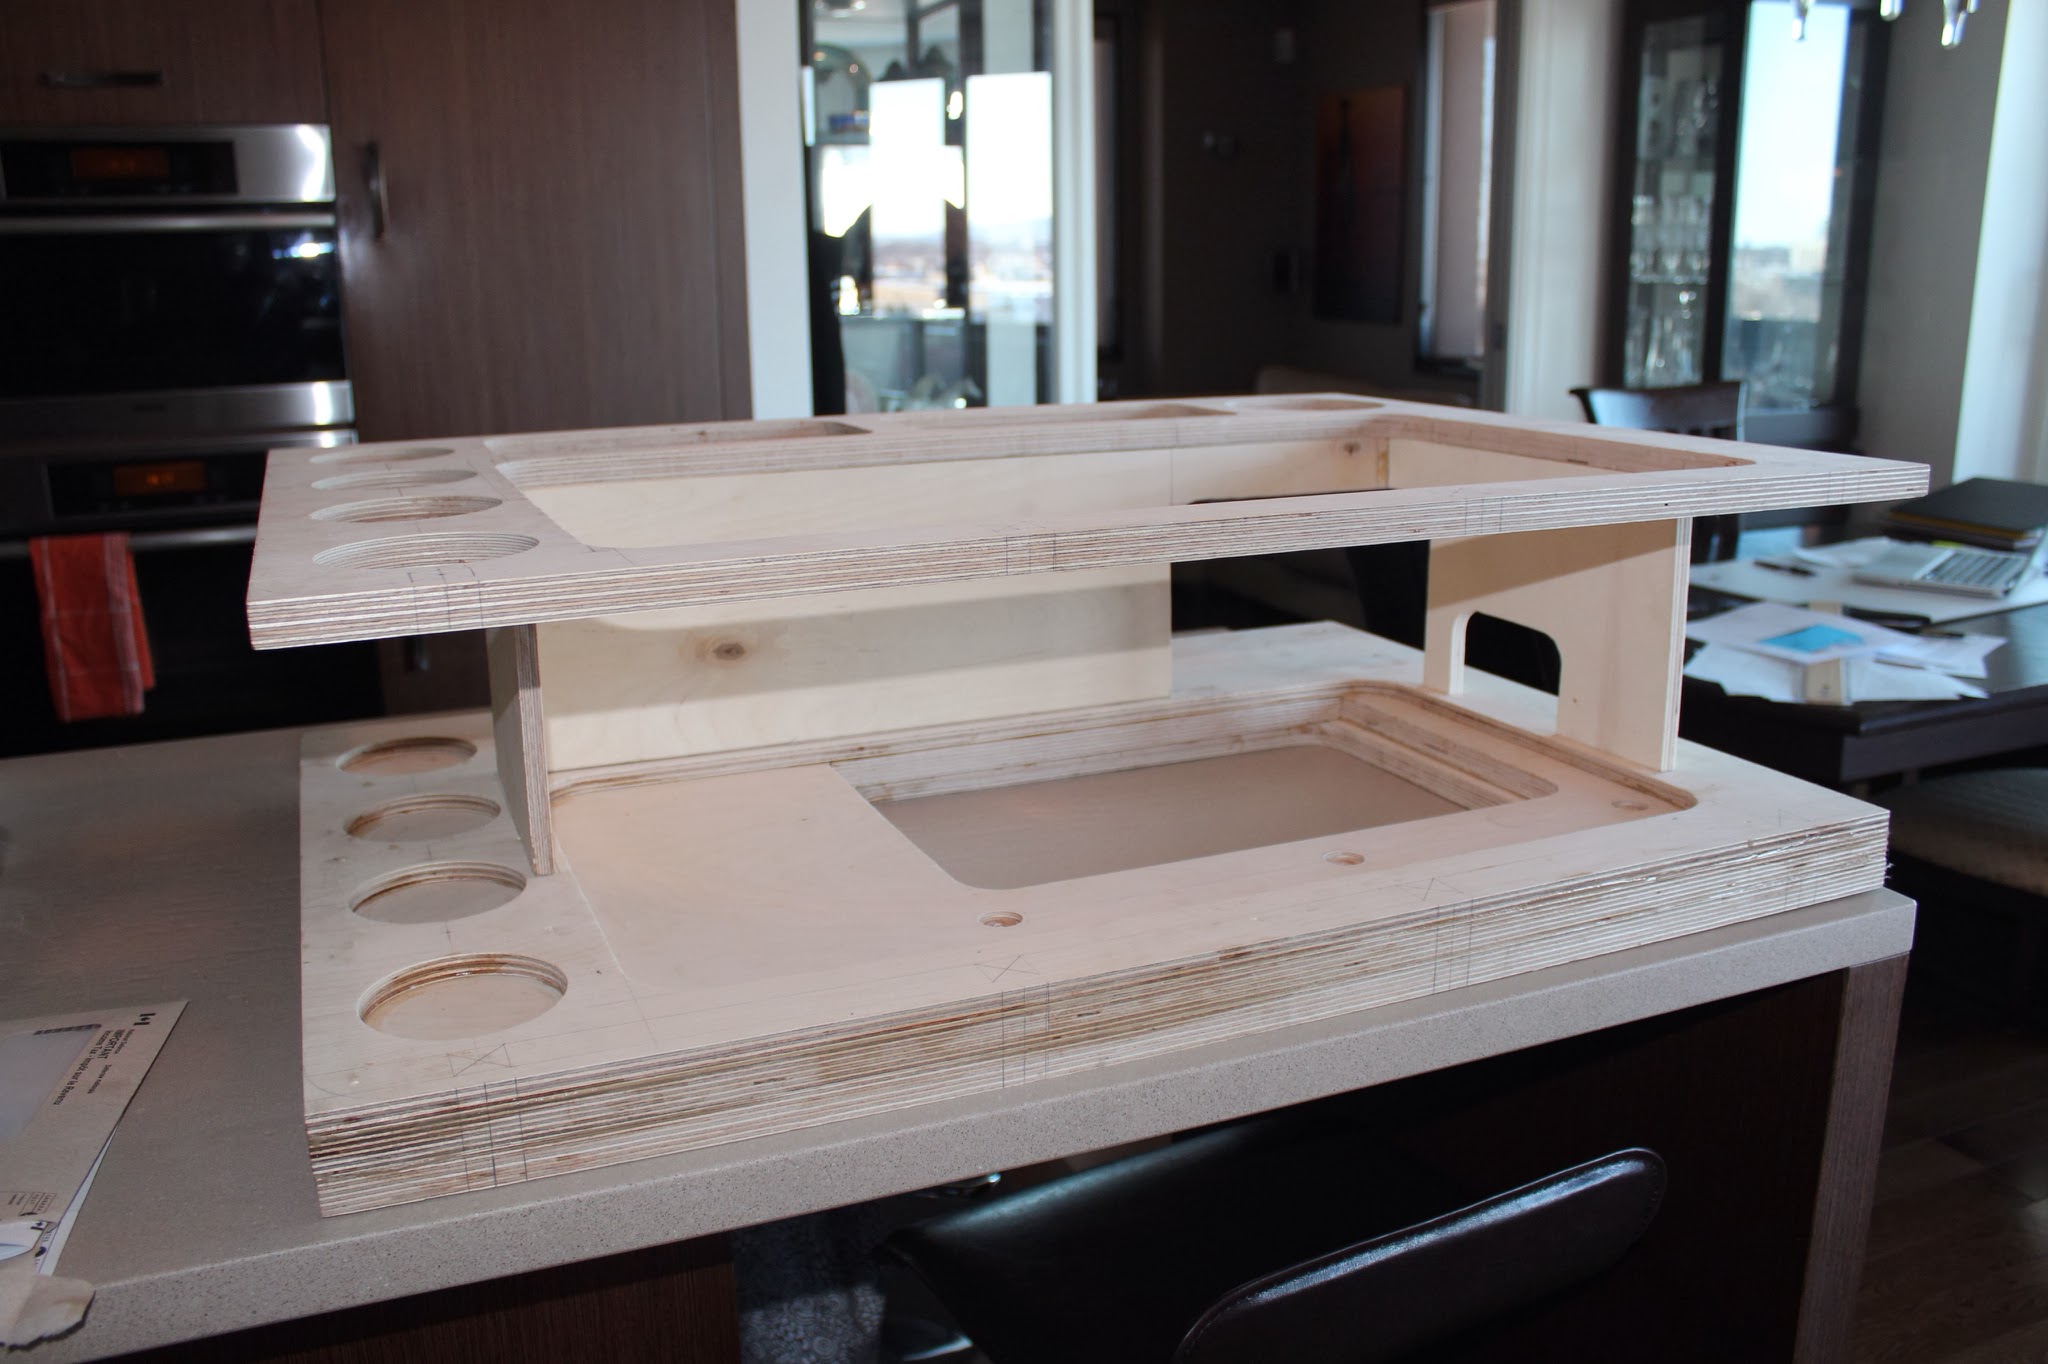
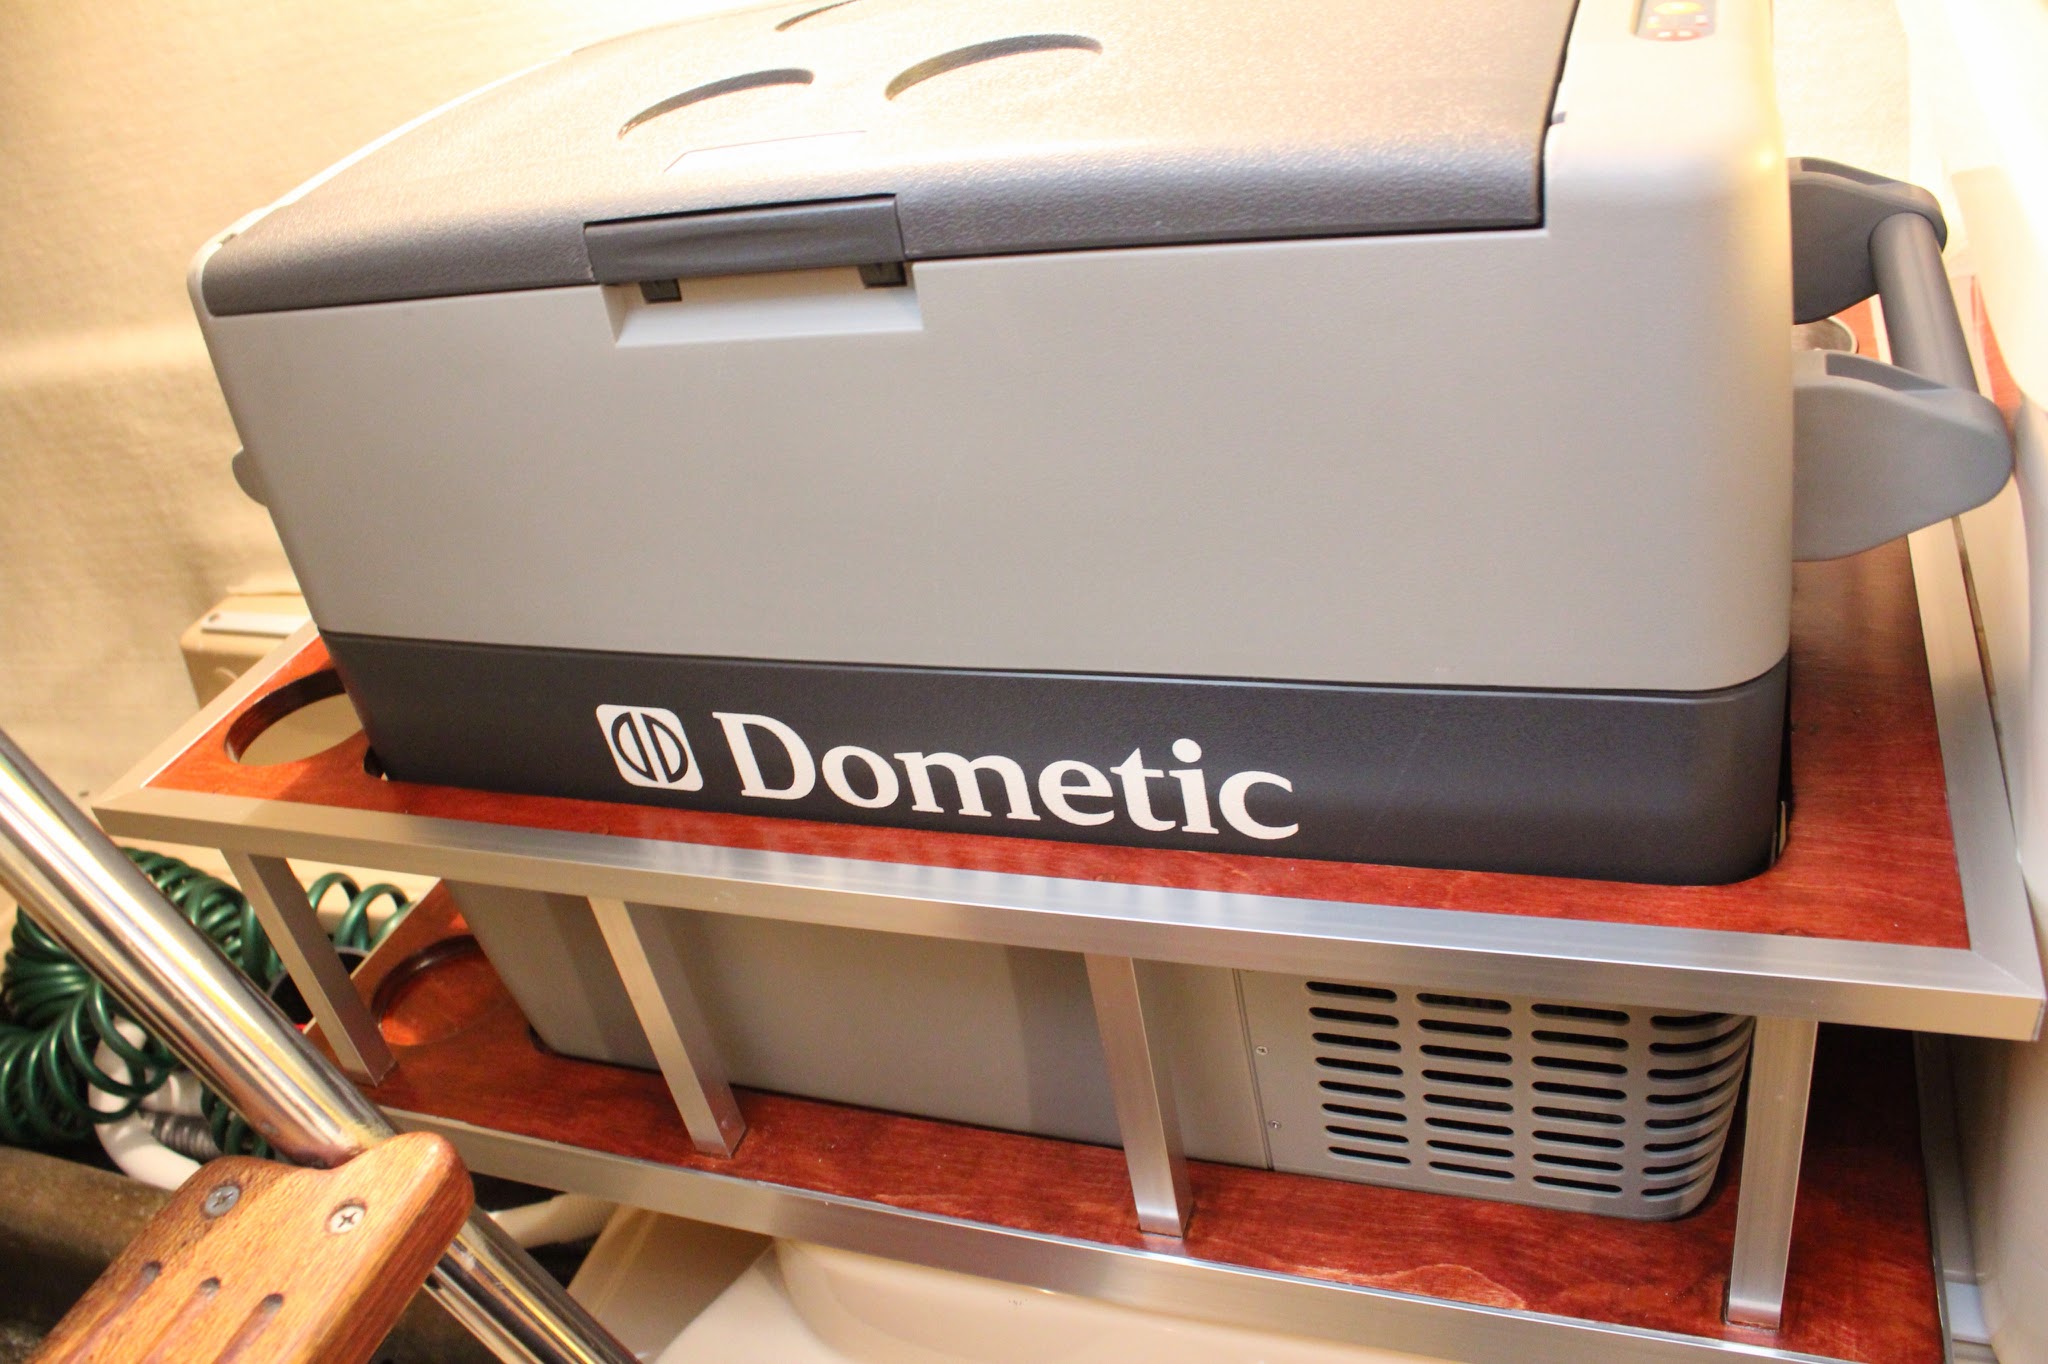
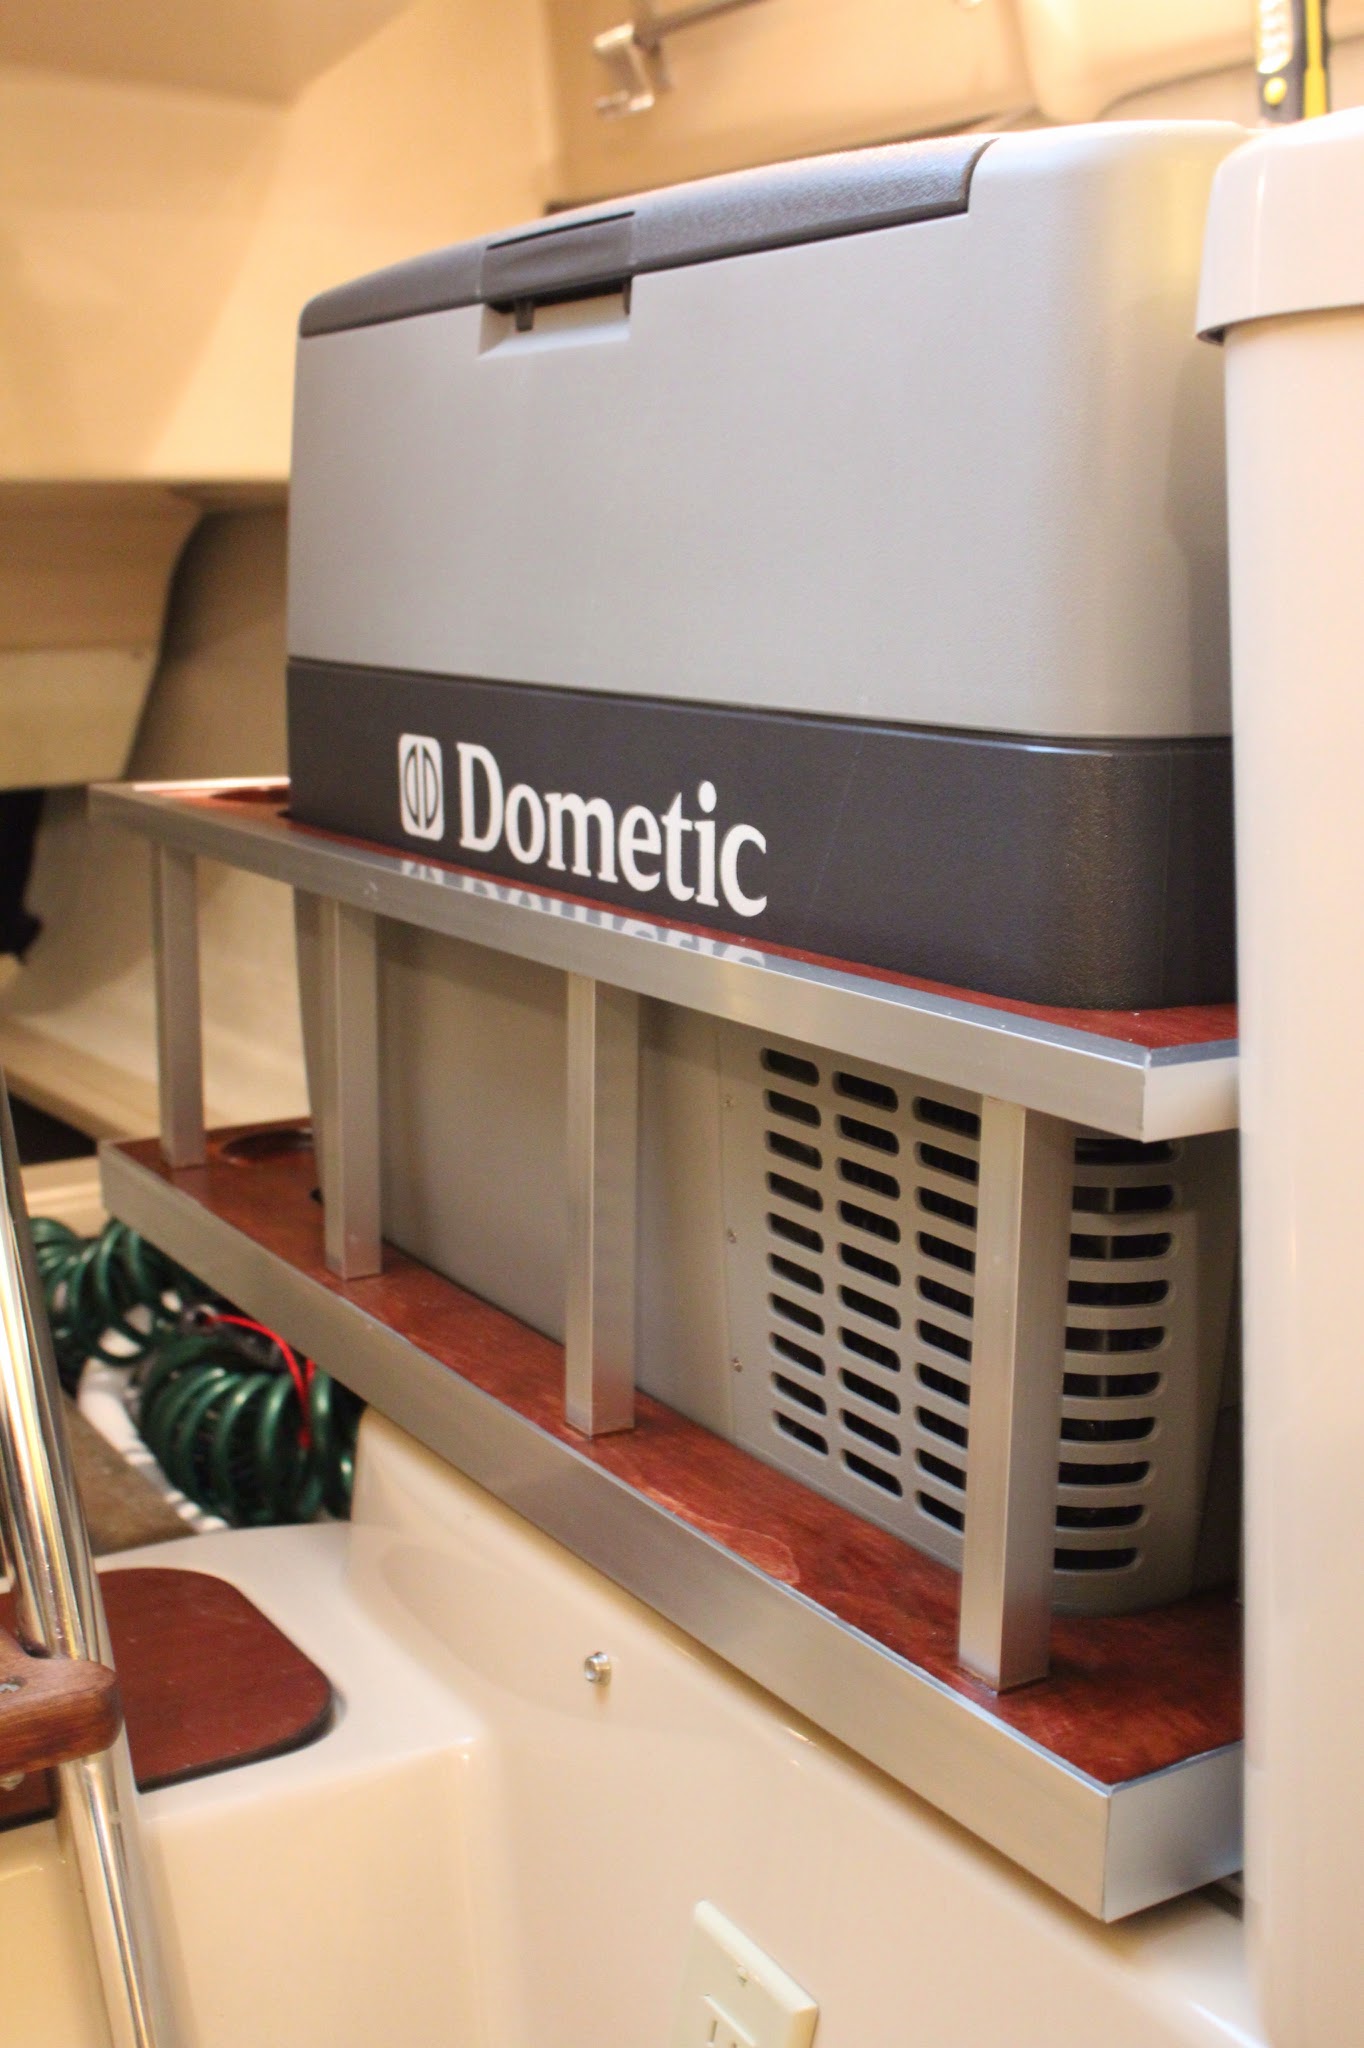
… our Dometic CF50…
…the plan…
…navigation tools are coming in handy…
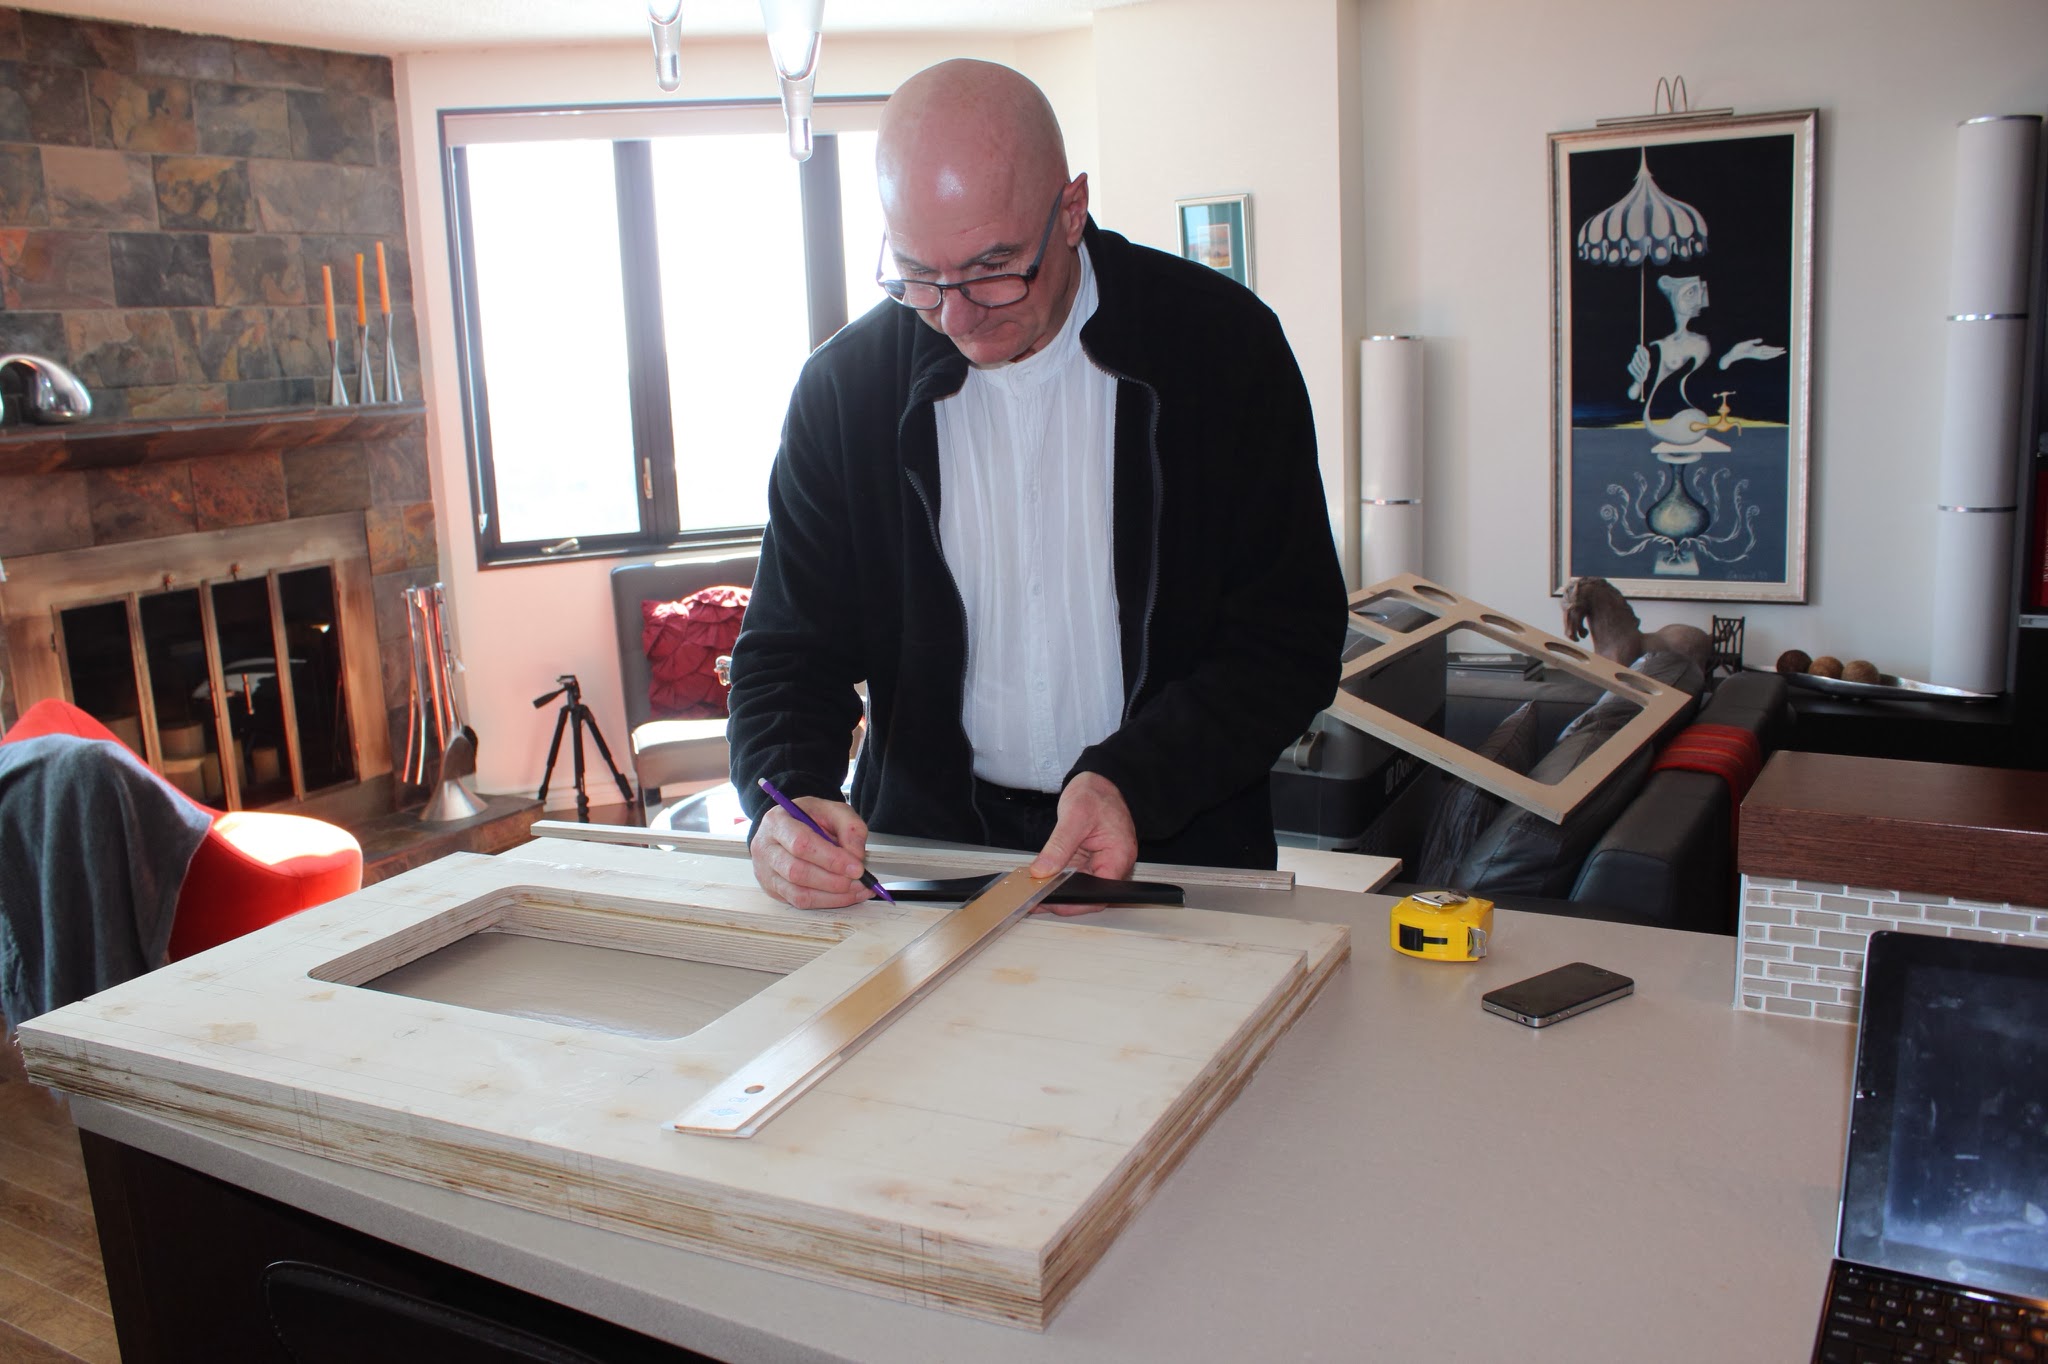
…the base layer – access for the ‘hold’…
…base layer part II – cutting holes for the ‘important’ stuff…
…making sure the ‘important’ stuff fits…
…the middle layer – access for the power cord…
…the middle layer – allowing ‘breathing’ room…
…the middle layer – front view…
…tint primer…
…when one tint won’t do, try another…
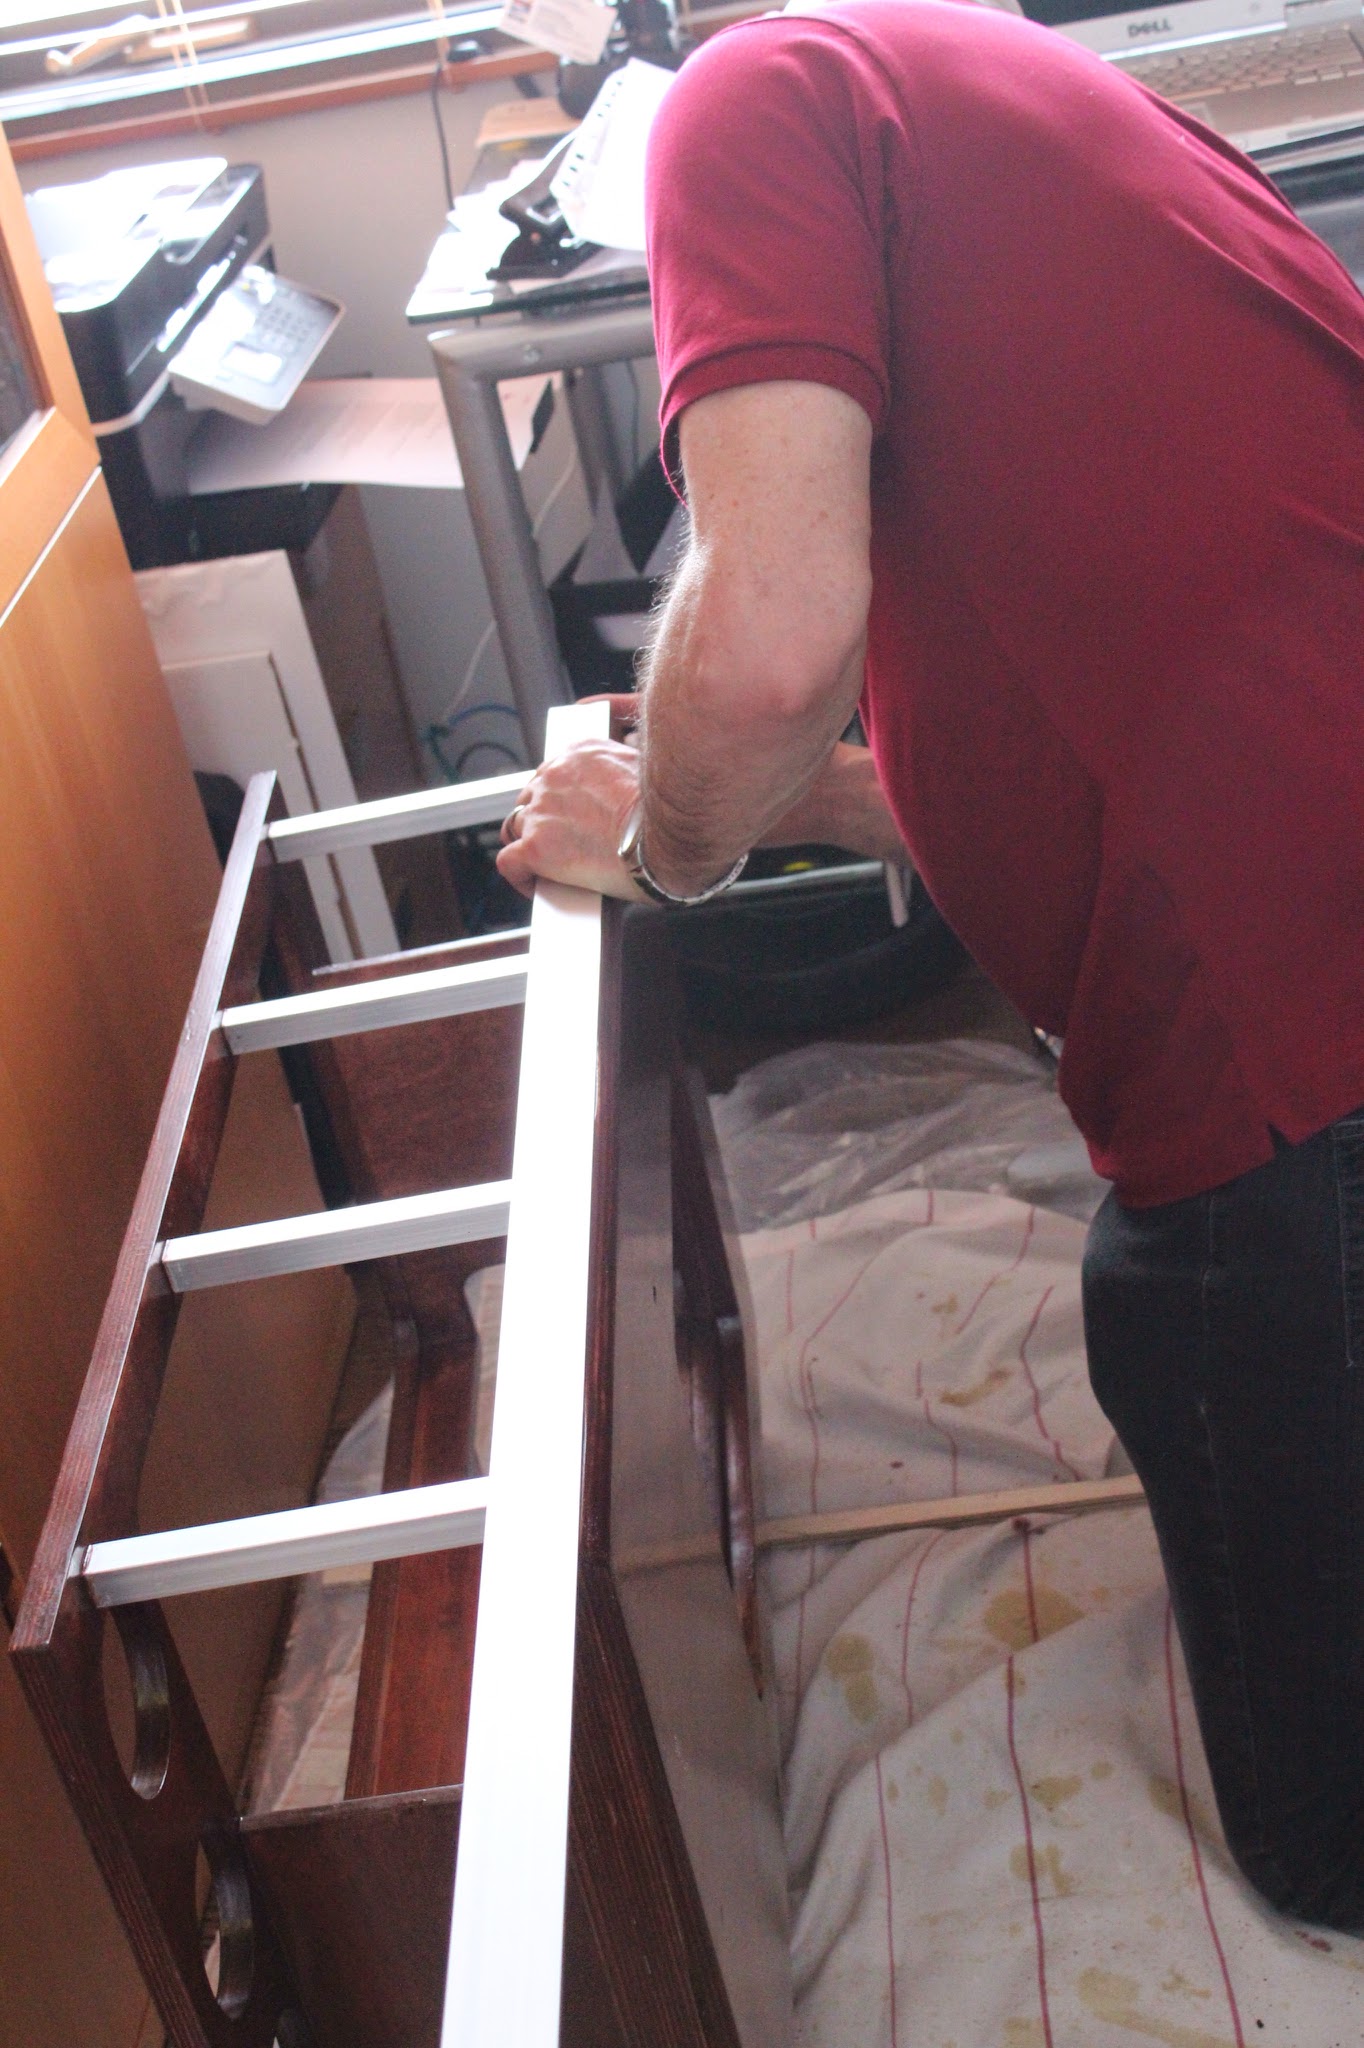
…applying the trim…
…trap to access S1 hold…
…access to power outlet…
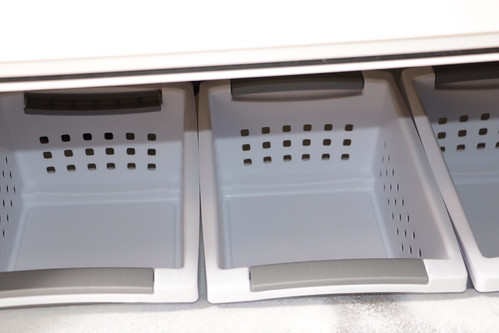
…holds all the ‘essentials’…
…extra containers to hold galley gear…
…new 12 V outlet with 6 amp fuse installed port side…
…installed astern to existing galley and secured with 6 anchor bolts…
…it works!!!…
…now I can’t wait to bring the rest of the galley gear onboard…